A shed is a hard place to secure with HomeKit because it sits outside the main living area, often has weak Wi-Fi, and usually has cheaper doors, hinges, and windows than the house. The best HomeKit shed security setup uses a camera for verification, a door sensor for the first alert, lighting for deterrence, and a plan for what happens when Wi-Fi drops.
Quick answer
For most homes, start with a HomeKit-compatible security hub or alarm system inside the house, then add a camera pointed at the shed approach and a contact sensor on the shed door. If the shed is far from the router, solve Wi-Fi before buying more cameras. A weak signal creates missed clips, delayed notifications, and unreliable automations.
What a HomeKit shed setup needs
- Door status: a contact sensor or alarm sensor that tells you when the shed opens.
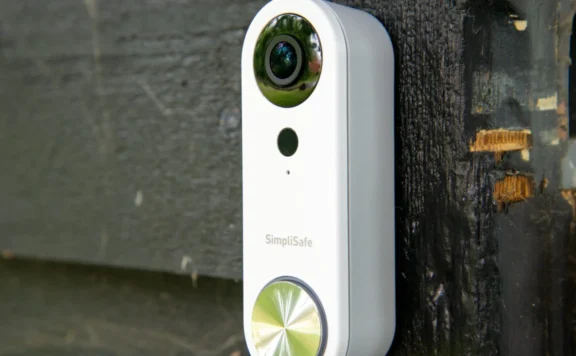
- Camera verification: a camera aimed at the approach path, not just the door handle.
- Lighting: motion lighting or smart lighting that makes late-night activity obvious.
- Automation: a Home app scene that can turn on lights, record video, or alert household members.
- Fallback: a plan for weak Wi-Fi, power loss, or camera subscription limits.
Best fit by shed type
| Shed type | Best HomeKit layer | What to check first |
|---|---|---|
| Small garden shed | Door sensor plus one camera | Whether the sensor survives heat, cold, and door flex |
| Tool shed with high-value gear | Camera, sensor, siren routine, and inventory photos | Wi-Fi strength and night footage quality |
| Detached workshop | Alarm sensor path plus camera verification | Power, router distance, and cellular backup options |
| Rental or shared property shed | Removable camera mount and tight privacy zones | Lease rules and neighbor-facing camera angles |
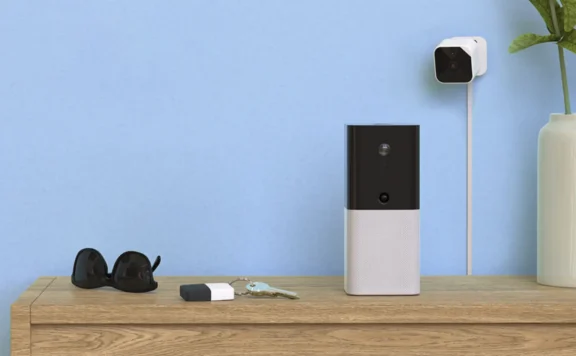
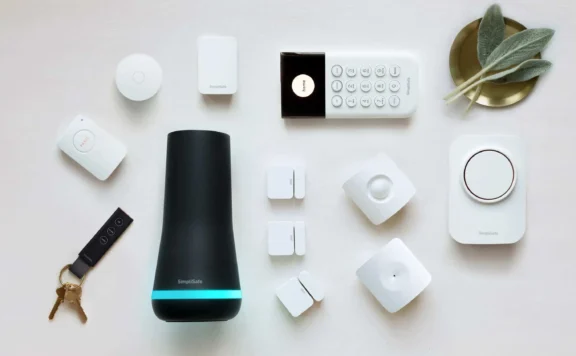
Where Abode fits
Abode is a strong HomeKit candidate because it can combine a security kit, door/window sensors, cameras, and optional monitoring without forcing a long contract. For sheds, the practical setup is usually an Abode Security Kit in the home, a Mini Door/Window Sensor where mounting makes sense, and an Abode Cam 2 watching the approach. Then compare Abode plans if you need more storage, cellular backup, or professional monitoring.
HomeKit automations worth setting
- Turn on exterior lights when the shed door opens after sunset.
- Send a notification when the door opens while the home is set to away mode.
- Record a clip when motion starts near the shed path.
- Trigger an indoor chime or siren routine only during high-risk hours.
- Use privacy zones so cameras avoid neighbors, sidewalks, and shared yards.
Do not skip the signal test
Before mounting anything permanently, stand inside the shed with your phone and test Wi-Fi. Then close the shed door and test again. Metal siding, distance, walls, and backyard grade changes can all reduce signal. If the connection is poor, a mesh node, router move, or lower-resolution camera plan may perform better than buying a more expensive camera.
No-subscription vs monitored shed security
A no-subscription setup can work if you only need local alerts, live view, and basic camera history. Monitoring starts to matter when the shed is part of a wider security system that also protects doors, windows, smoke/CO, and the main home. Use the shed as one layer, not the whole security plan.
Related shed and HomeKit guides
- No-subscription security systems for sheds
- Security systems for detached garages and sheds
- HomeKit security systems for backyards
- HomeKit security systems for side yards
- Best HomeKit home security systems
FAQ
Can HomeKit secure a shed by itself?
HomeKit can coordinate alerts, cameras, lights, and scenes, but the shed still needs reliable hardware and Wi-Fi. Treat HomeKit as the control layer, not the whole security system.
Do shed cameras need a subscription?
Not always. A subscription may add storage, richer alerts, or longer history, but many households can start with live view, local alerts, and basic recording.
What is the first thing to test?
Wi-Fi. If the shed signal is weak, every camera and automation decision gets harder.