Renters can use HomeKit to make an apartment feel safer without drilling holes, replacing doors, or signing a long monitoring contract. The right setup is not about buying every device Apple supports. It is about building a few automations that reduce common risks: an unlocked entry, a door opening while you are asleep, a package left in view, or a hallway light staying off when someone comes in late.
This 2026 guide focuses on practical HomeKit security automations for renters. The goal is a setup that is reversible, affordable, and easy to explain to a landlord or roommate.
Best HomeKit Security Automations for Renters
| Automation | Devices needed | Why it helps |
|---|---|---|
| Entry alert after dark | Door sensor, HomePod or Apple TV, smart bulb | Turns on a light and sends a notification when the main door opens at night. |
| Camera recording when door opens | HomeKit Secure Video camera, door sensor | Captures context instead of relying on motion detection alone. |
| Window left open reminder | Window sensor | Flags open windows before you leave or go to bed. |
| Away-mode light routine | Smart plugs or bulbs | Makes the apartment look occupied without leaving every light on. |
| Leak and entry combo alert | Leak sensor, contact sensor | Useful in apartments where a small leak can become a building issue quickly. |
Start With Sensors, Not Cameras
Renters often start with cameras because they are easy to understand. Cameras help, but sensors usually create better automations. A door or window sensor gives HomeKit a clean signal: open or closed. That signal can trigger lights, notifications, recordings, and scenes with fewer false alarms than motion alone.
A good starter layout is one contact sensor on the main door, one on the most accessible window, and one indoor camera pointed at the entry path. That gives you coverage for the highest-risk points without turning the apartment into a complicated project.
No-Drill Setup Tips
- Use removable adhesive strips for contact sensors and small motion sensors.
- Put cameras on shelves, counters, or magnetic mounts instead of drilling into walls.
- Use smart plugs for lamps if you cannot replace switches.
- Label each sensor in HomeKit by location, such as Front Door or Bedroom Window.
- Test every automation after moving furniture, changing Wi-Fi gear, or replacing batteries.
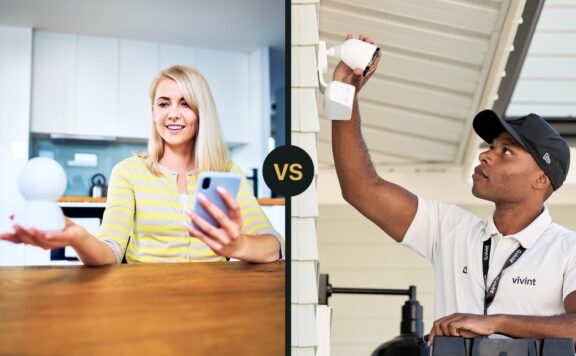
When to Add Professional Monitoring
HomeKit is strong for local alerts and smart home routines, but it is not a full replacement for a monitored security system. If you travel often, live alone, or want emergency dispatch when you miss a notification, pair HomeKit automations with a DIY system that supports optional monitoring.
That is where systems like Abode make sense for renters. You can use HomeKit for scenes and notifications while keeping a separate security layer for sensors, sirens, and monitoring. The split keeps the smart home convenient without forcing every safety decision through one app.
Renter-Friendly Buying Checklist
| Question | Best answer |
|---|---|
| Can I remove it cleanly? | Yes, with adhesive mounts or freestanding placement. |
| Does it work without replacing a lock? | Yes, unless your lease clearly allows lock changes. |
| Can roommates understand it? | Yes, scenes and alerts should use plain room names. |
| Will it keep working if Wi-Fi drops? | Critical alarms should not depend only on cloud notifications. |
| Can I take it when I move? | Yes, prioritize portable sensors, plugs, cameras, and hubs. |
The best HomeKit security setup for renters is simple: entry sensors, a few lights, a camera where it adds context, and automations that match your routine. Keep the system portable, test it monthly, and use professional monitoring when phone-only alerts are not enough.