HomeKit can be a clean way to manage cameras, sensors, lights, locks, and automations, but the setup still needs a real security plan. Start with the entry points and privacy rules before adding extra scenes.
Start with camera jobs
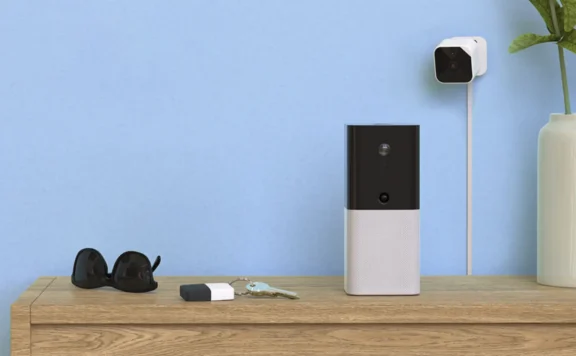
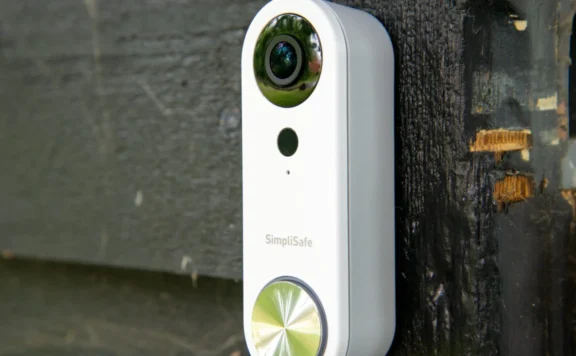
Give every camera a job: front door verification, driveway activity, back entry coverage, garage view, or package checks. Avoid adding indoor cameras unless everyone in the home agrees on privacy rules.
Use HomeKit automations carefully
The safest automations are simple: turn on entry lights after motion, check door lock status at night, and pause indoor recording when people are home. Test alerts before relying on them during travel.
Match cameras with sensors
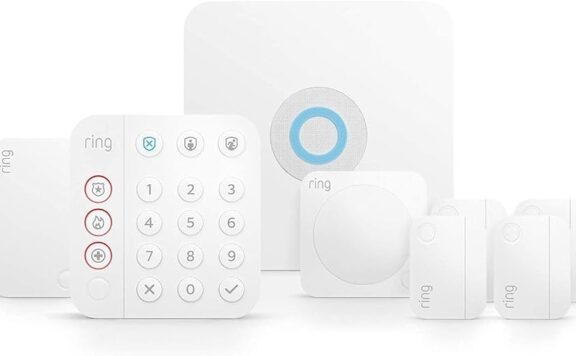
Cameras work better when paired with door sensors, motion sensors, and smart locks. A camera can show what happened, but a sensor usually creates the cleaner security signal.
Related guides
Read the HomeKit duplex security guide, smart-home security setup checklist, smart locks guide, smart-home security hubs, and Nest and Z-Wave compatibility guide.
Bottom line
A good HomeKit security camera setup uses cameras for verification, sensors for security signals, and automations for convenience. Keep the rules simple enough for the household to trust.
June 2026 next reads for HomeKit camera setups
After the basic HomeKit camera checklist is done, match the camera plan to the property. A small apartment, garden office, workshop, and sensor-first alarm setup all need different follow-up steps.
- For tool rooms and workspaces, read HomeKit security cameras for workshops.
- For detached work areas, compare HomeKit security systems for garden offices.
- For sensor coverage, use the HomeKit door sensors and alarm systems checklist.
- For smaller homes, read HomeKit security systems for small apartments.
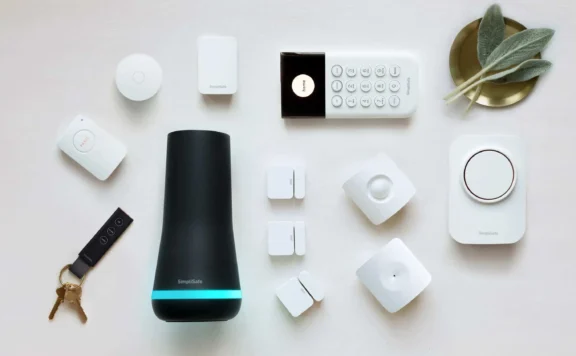
For Abode shoppers, pair HomeKit camera coverage with the Smart Security Kit, add Abode Cam 2 where video is useful, and compare Abode plans if the home needs monitoring or backup.